Oxford Heated Grips in KTM Duke 390
Details of how to install these excellent heated grips on the KTM Duke
Details of how to install these excellent heated grips on the KTM Duke
After my Kawasaki KLX250SF was stolen in Melbourne last year I bought a KTM Duke 390, model 2015. During summer there were no problems riding my new bike. However, during winter it was cold and my fingers froze every day. I friend of mine recommended me to install heated grips. I did some research online and I found the Oxford Premium Sport Heated Grips for around AUD$130. They had good reviews and the price was OK. When I tried to get information of how to remove the original grips I couldn't find anything. At the end this is what I did.
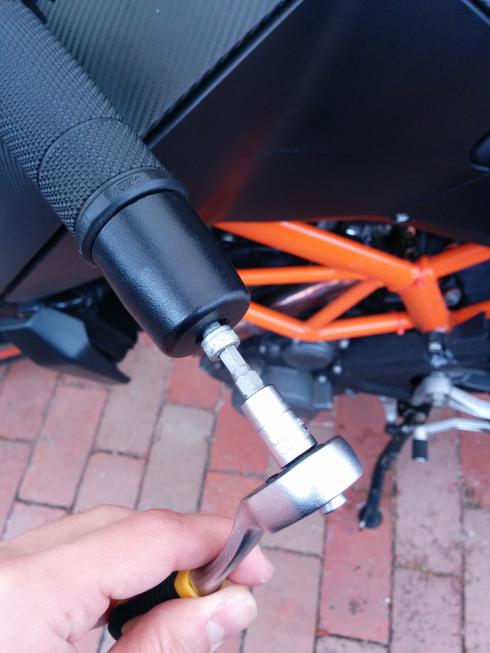
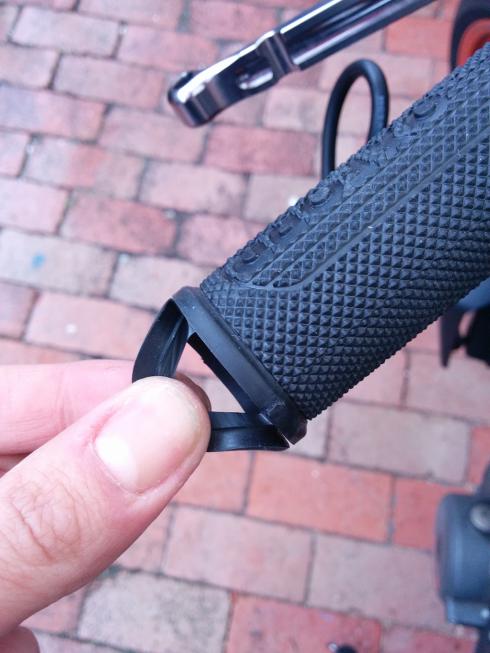
Removing the handles is quite simple. First remove the handle bar end plugs.
For the left handle you have to cut the handle grip with an utility knife. The original handle grip is glued directly to the handle bar.
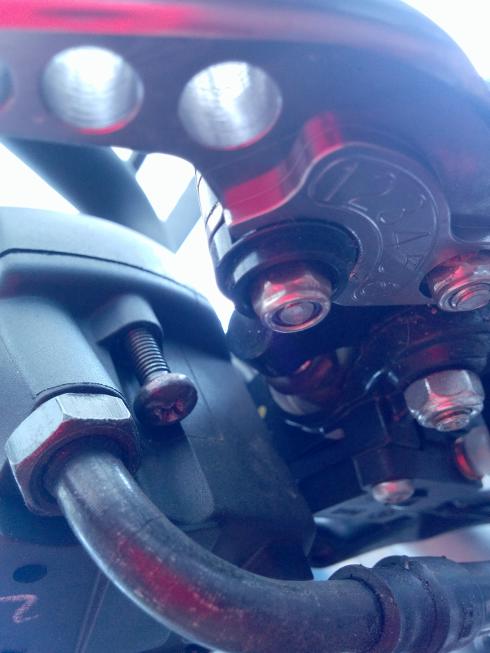
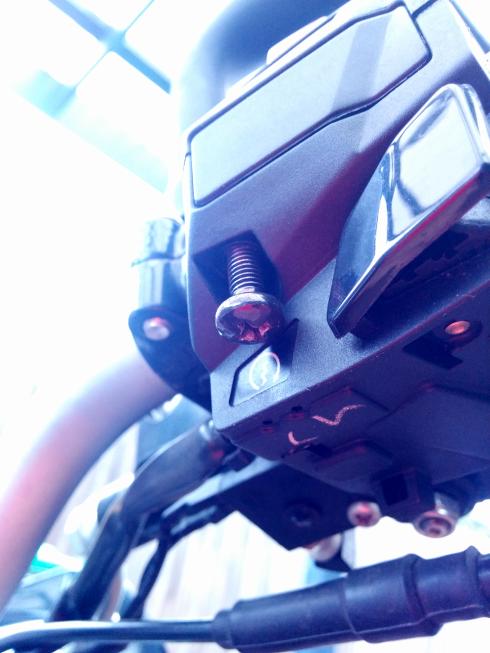
For the right handle you have to open the enclosure for the power switch. There are 2 srews at the bottom.
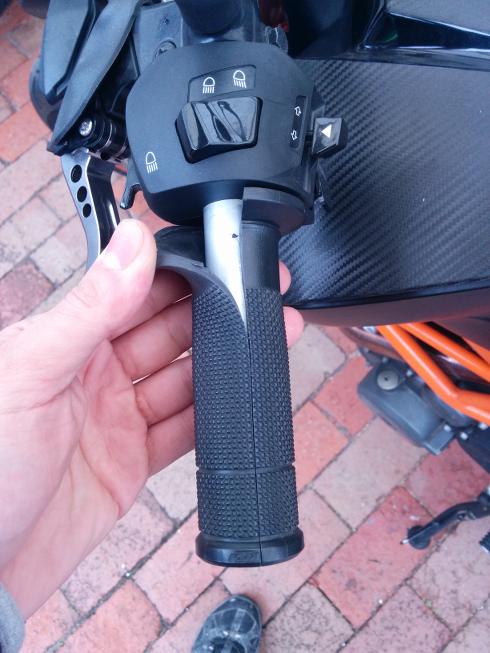
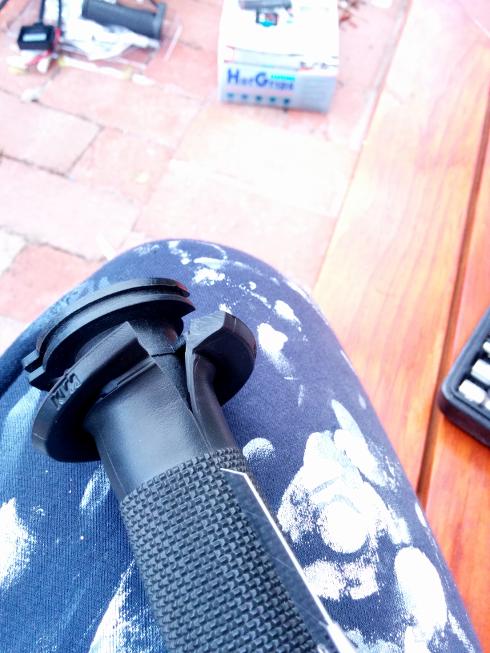
Remove the throttle cable connected to the handle. Then you can remove the handle from the handle bar. The grips are glued to the pastic handles so you need to cut it along the axis.
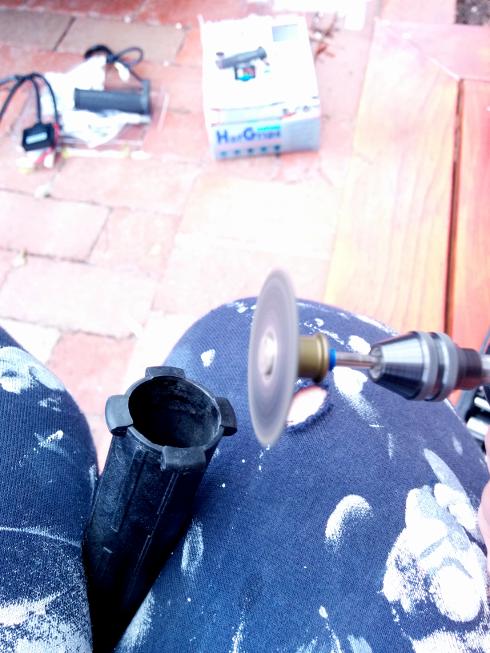
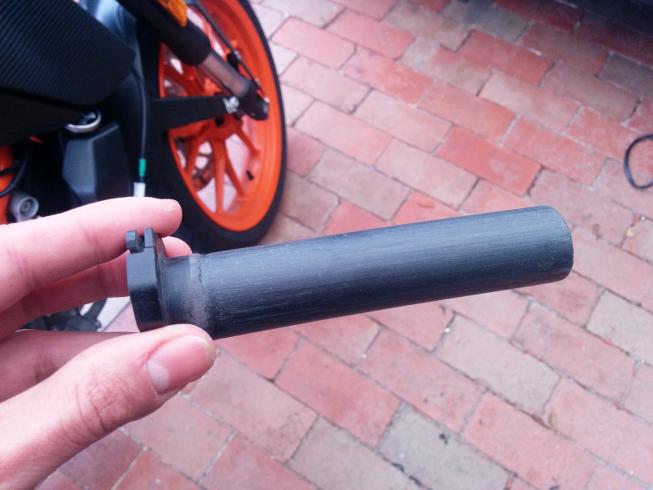
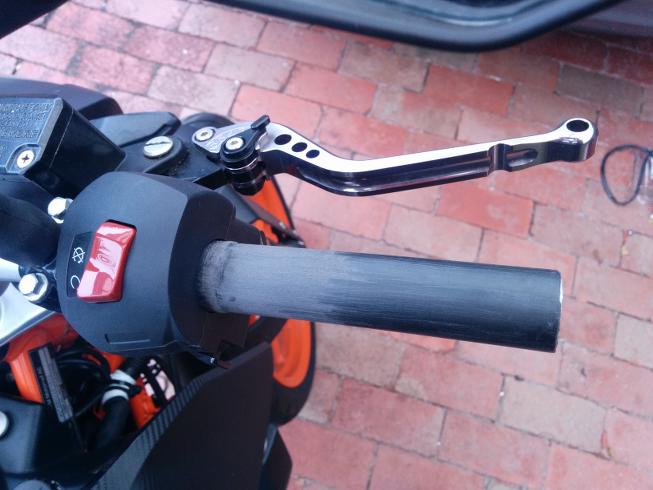
You will find out that the right handle (plastic tube that you just removed) is slightly thicker that the Oxford grips and it has a few plastic lips to hold the original grip in place. You will have to remove those lips. I used a Dremel for that. Then you will need sand paper to reduce the diameter of the handle. This process takes around 20 minutes. Don't remove too much material. The new grip should fit tight but it should go all the way in with ease.
Decide the orientation of the handle in advance as you won't be able to change it after you glue it. Pour some of the supre glue included in the kit around the metal handle bar. Quickly push the handle grip to the handle bar. You will have around 5 seconds to do that. After tehe handle grip reaches its final position cut the en of it with a utility knife.
Put the handle back to the handle bar and close the box that holds the power switch.
Decide what orientatio you want for the handle grip. Pour super glue around the handle and push the handle grip until it reaches its final position. Finally cut the en of the grip with a utility knife.
You will need to remove the back and front seat as well as some of the side panels. Run the power cable from the grips to the battery. Connect the cable directly to the battery. Connect the power cable to the handle grips and control box. Put the side covers and seats back to the bike.
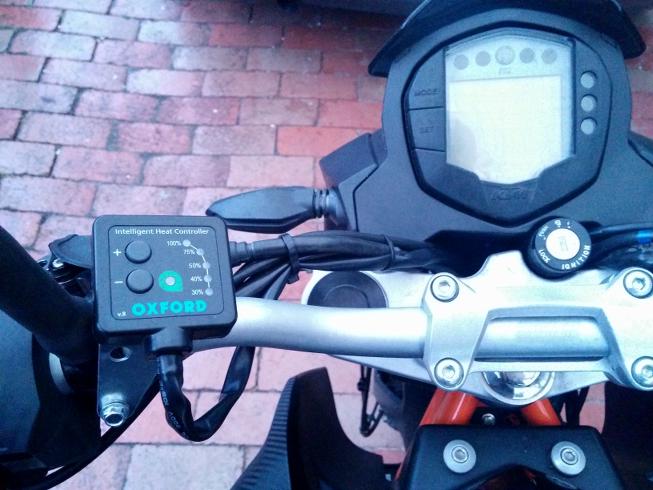
I installed the control interface on the left side of the handle bar.
I used cable ties to organise the original and new cables around the front of the bike.

Just turn the heat grips on by pressing the + and -buttons on the control interface. LEDs should turn on identifying level of eating. After a couple of minute you should be able to feel the difference.
I'm quite happy with the results. It's worthed the money and time spent on this device. It became more comfortable to ride the bike during cold days and it's also safer. The entire process takes around 2 hours. Recommended!!!